This Christmas, Carla bought me the Litiholo Kit. This is the most awesome introductory holography kit ever. First, there is no wet development of the plates. You just expose them for around five minutes, and they are done. It even comes with a blue LED keychain light to use as a "safelight" while you are exposing the film in the dark with the red laser.
The Litiholo Kit uses a known technique for easy holograms - there is only a single expanded beam cone from a solid-state laser. The part that directly illuminates the film plate is the reference beam, and the part that illuminates the object and bounces off of it is the object beam. There is no need for additional mirrors or lenses to steer the reference beam around separately from the object beam. Plus the system is designed to minimize vibration between the object and the plate, which is one of the biggest source of failed holograms.
So how was my first five minute exposure?
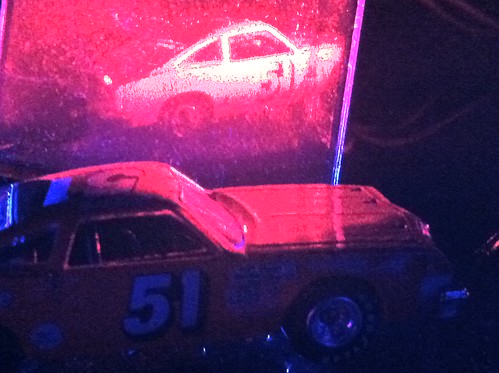
You can see the hologram above, and the red matchbox car comes with the kit below. I was amazed how easy it was to make a hologram! So I got creative:
So obviously these are not the best holograms - they are a bit messy, they are small, and because of the angle of illumination you have real limitations on the size and shape of what looks good. But on the other hand, it is incredibly simple, works, and is a great introduction to holography!
2 comments:
Might be simple and not worldclass, but the result is fine and good enough for me. Let's get a kit like yours :D
I just found out you can make a hologram from an object IN FRONT of the glass!
Post a Comment