Sunday, May 04, 2025

Oval Pill Cutter Shim 3D Print

The pill cutter we have is great for circular pills, but it is tough to use it with highly oval pills. So I took some measurements, and designed a shim for the pill cutter to use with oval pills. A key item is to avoid blocking the cutting blade when it comes down, so the middle of the shim has a slot that is only 1mm thick, but with HyperPLA it seems strong enough.

I did the design with OnShape. It is now my favorite CAD system, thanks to the ease of being able to precisely change dimensions. Sliced in Creality Print and printed on a Creality Ender 3 V3 SE 3D printer with Creality HyperPLA 1.75mm filament.


Friday, December 16, 2022

A while back, I built Chaney Electronics C6981 geiger counter kit, which uses the SBM-20 tube.  I had nothing hotter than my granite counter-top to test with (which was maybe 200% of background radiation).  Then I saw the Radioactive Drew YouTube episode "Uranium Tiles on Pasadena Sidewalk", and I knew I had to take my son out there to test it.  It's hot alright!


Here is the geiger counter:


Sunday, May 17, 2020

SculptrVR to Roblox Workflow

SculptrVR is a fun, free-form VR sculpture program.  After my son made a cool design in the app, I extracted the .obj mesh from the Oculus Quest (see this post for all the details).  Besides 3D printing it, I also wanted to be able to bring it into a Roblox level so he can play on it.

A few things I learned about this process:

First, you need an "adult" Roblox account to make "mesh objects" in Roblox Studio.  I guess they are afraid of the kinds of meshes kids might upload?  Weird.

Second, you can import .obj files into Roblox Studio, but I suggest the following workflow in Mesh Lab to do some processing on the mesh so it works well in Roblox Studio.

1) Load the .obj file into MeshLab

2) Roblox Studio has a limit of 10,000 faces on MeshParts:


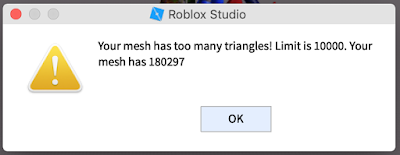
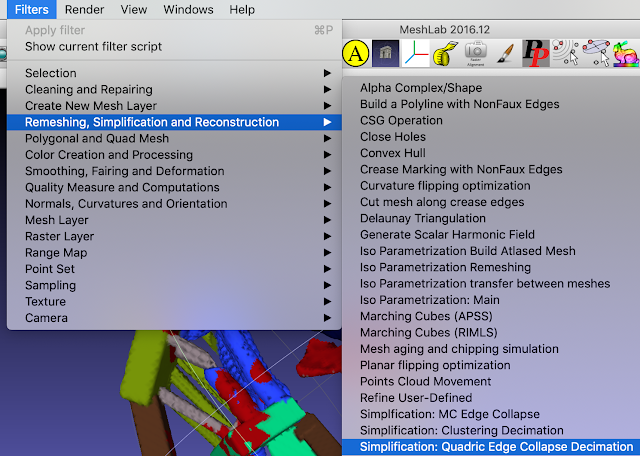
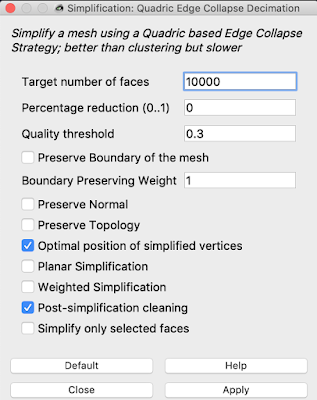
So if you have more than 10,000 faces in your mesh, in MeshLab use "Filters/Remeshing, Simplification and Reconstruction/Simplification: Quadratic Edge Collapse Decimation" to reduce the number of faces:


You can target for 10,000 faces, but if you end up with more faces than 10,000 after the decimation, you may need to set a slightly lower target like 9,900:


3) SculptrVR exports .obj meshes with vertex colors.  However, Roblox Studio expects a mesh to have a texture image file instead.  So you need to create the texture file from the .obj file you obtained from SculptrVR.  There are two steps to do this.  First use "Filters/Texture/Parameterization: Trivial Per-Triangle":


What is "Parameterization"?  It maps the space of the 3D triangular mesh onto a flat, 2D surface.  The best explanation I've seen is from this slide from a Tel Aviv University presentation:


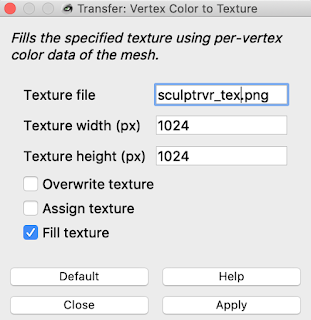
4) Now that there is a mapping from the triangular mesh to 2D, we need to carry the vertex colors to the 2D texture.  Use "Filters/Texture/Transfer: Vertex Color to Texture":


You must then name the texture file:


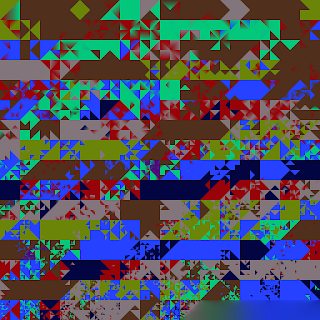
The texture file is a .png. It will look like a lot of colored triangles:


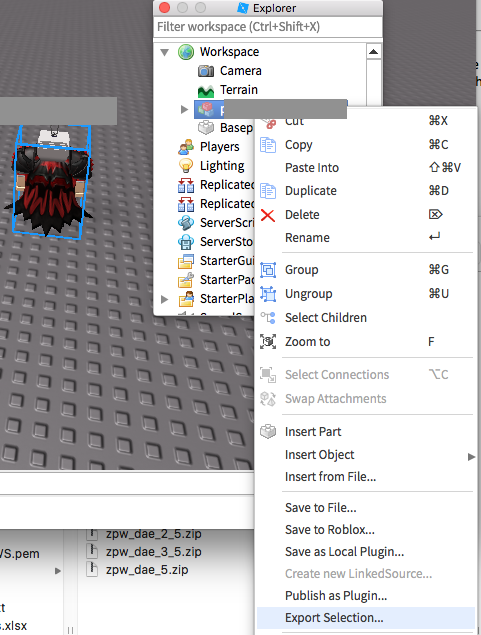
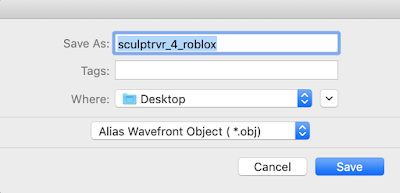
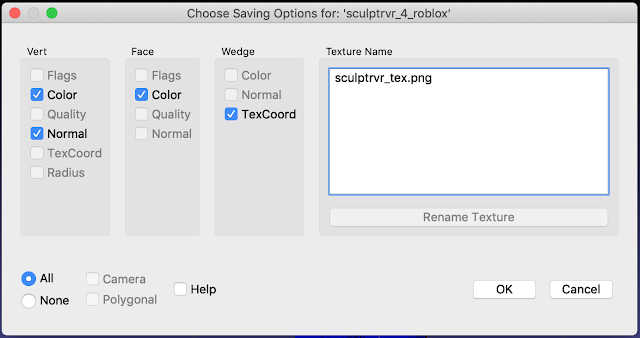
5) Now export the processed .obj file from Mesh Lab, and make sure that it references the texture file:


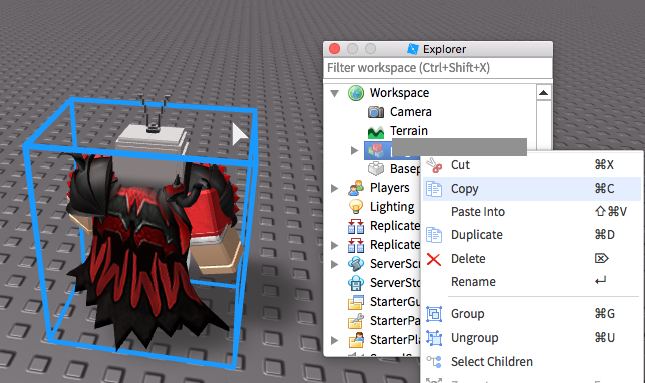
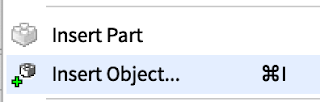
6) Now go into Roblox Studio.  Right click or Command-I to insert an Object:


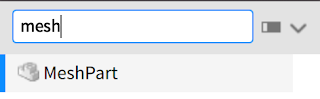
And insert a "MeshPart":


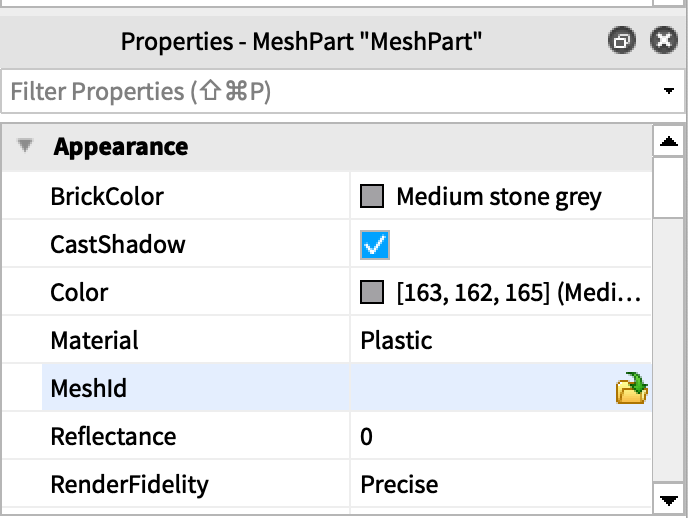
Select the generic MeshPart you inserted


Then go to the Properties/MeshId and choose the .obj file you exported from MeshLab:


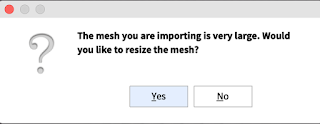
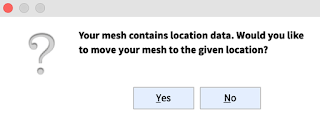
You will get a couple of warnings, you can choose to say yes or no:


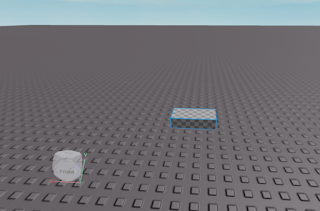
And at the end of that, Roblox Studio should import your .obj mesh and automatically load up the texture file as well:
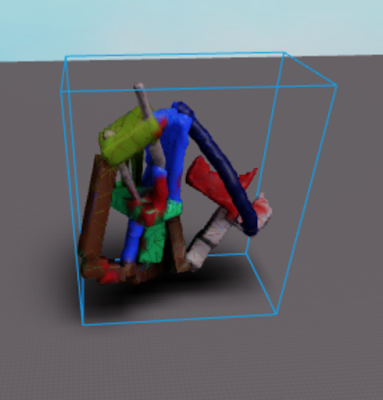


There you go!


Saturday, May 16, 2020

SculptrVR to 3D Print Workflow

SculptrVR is a free-form 3D sculpting app for multiple VR platforms, including Oculus Quest, which I have.

My son made a cool sculpture in SculptrVR, and I decided it would be neat to 3D print it.  Here is what he made, photographed from within the app:


To save a mesh in SculptrVR, go to your palette and click on the file folder icon (see red arrow):


Hit "Save":


Then click on "Export Mesh":


When the export is done, you'll see this:


As the instructions say, you'll need to reboot your Quest.  With your headset on, hold the power button your headset down until you're prompted with a shut-down screen.  Select Restart to reboot your Oculus Quest.

Now you need to hook up to the Oculus Quest with a USB-C data cable.  If you are like me and stuck with a USB-A laptop, I recommend the Juiced Systems USB-C to USB-A 10 Gbps USB 3.2 Gen 2 Data Power Cable. That one worked for me.  If you have a Mac, you will need to download the Android File Transfer app.  When you connect to the Quest, you will see a file directory like this one:


Go into com.sculptrvrinc.sculptrvrapp/files/OBJExports, and your exported .obj mesh will be there.  Transfer it over to your computer.  At this point, you can look at it with MeshLab:


Also you can load it into Ultimaker Cura.  Many meshes from SculptrVR are unlikely to be "manifold", but that doesn't seem to matter much in slicing and printing.


Then just slice, and print...


Wednesday, August 22, 2018

3D Printing a Roblox Character in Full Color with Shapeways

If your kids loves Roblox, they will be very excited for you to 3D color print their Roblox character!

First, download and run Roblox Studio.  You can work with a basic "Baseplate" template:


Next, hit "Play":


And your character will appear.  Select your character on the explorer (I've grayed out the name):


And open up the "Properties" list:


Make sure your character is "Archivable":


Now under the Workspace tab (not the Players tab!), right click on your character and "Copy":


Stop the game:


Now right click select the Workspace and "Paste Into":


Now you have a copy of the character in the Workspace.  Select the character, and right click to "Export Selection":


Congratulations, you've just exported the 3D OBJ file mesh with textures!


Load the OBJ file into Meshlab.  It automatically will load up the texture files as well.  Your character needs to be scaled for proper print size.  For Shapeways full-color sandstone, I find the character needs to be scaled up by 10-20 x for 3-5 inches tall to be "the right size".   In Meshlab that is Filter/Normals, Curvature and Orientation/Transform, Scale, Normalize:


To work with Shapeways in full-color, export from Meshlab as "Collada File Format", i.e. ".dae".   ZIP the DAE file and all the PNG texture files together.  Then upload the zip file to Shapeways.  Select Sandstone / Full-Color to print in color:


Watch out, Shapeways gets really expensive with the size of the character because you are being charged on volume (scales by a cubic function!).  A 3 inch character is around $50, a 5 inch character is around $100.

It is possible that your character may be rejected for printing due to thin walls or other Shapeways printing restrictions.  Fixing that is going to be a topic of another post!

If you have a 3D printer at home, you can of course export an STL file from Meshlab, import into your slicer, and then just print a cheap monochrome version.

Good luck!

Thursday, July 19, 2018

3D Printer CAD Workflow for Mermaid

My daughter wanted me to make a mermaid:


This required some "organic" curved shapes.  I've found that SolidWorks Apps for Kids is a great way to make those kinds of shapes:


But since you can't import anything into SWAFK, I exported the STL, and loaded it into TinkerCad to add a head I found on Thingiverse:


Export to STL again, sliced in Cura to gcode, then printed on my Monoprice MP Select Mini V2: